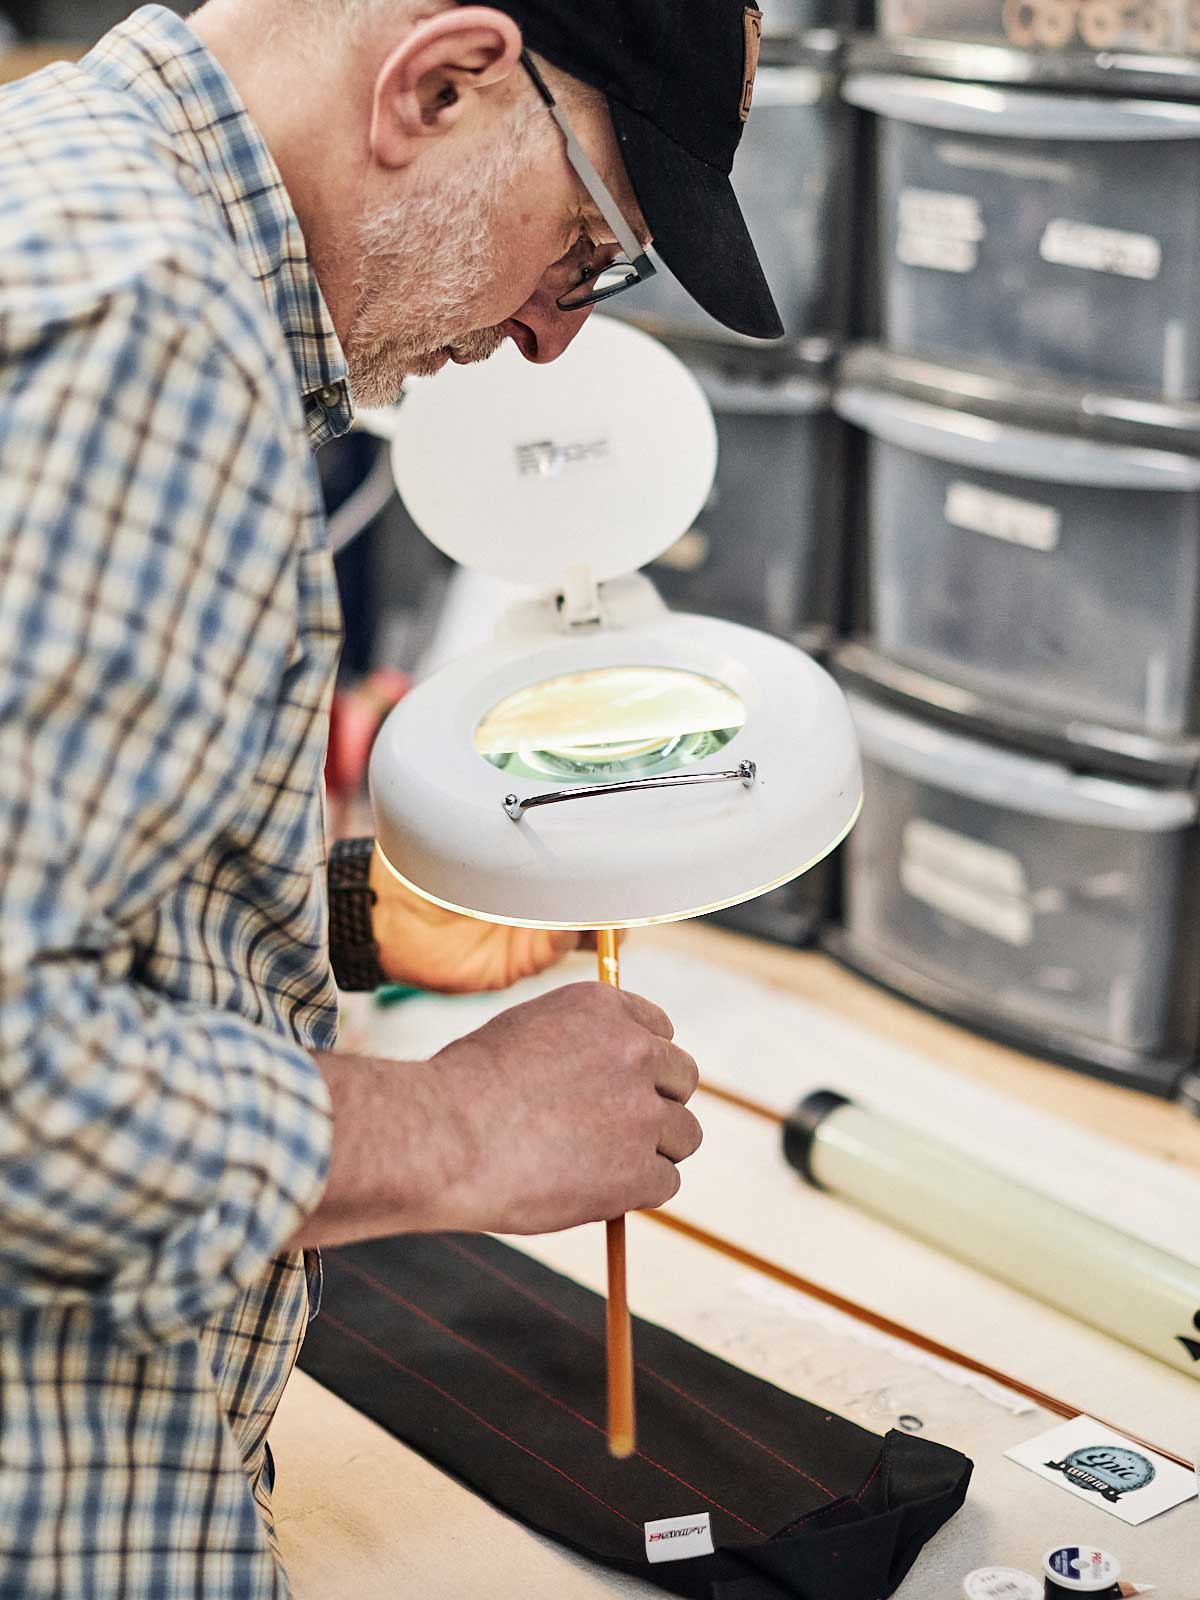


How to build a fly rod. Fly rod building tips and tricks from the Pro’s
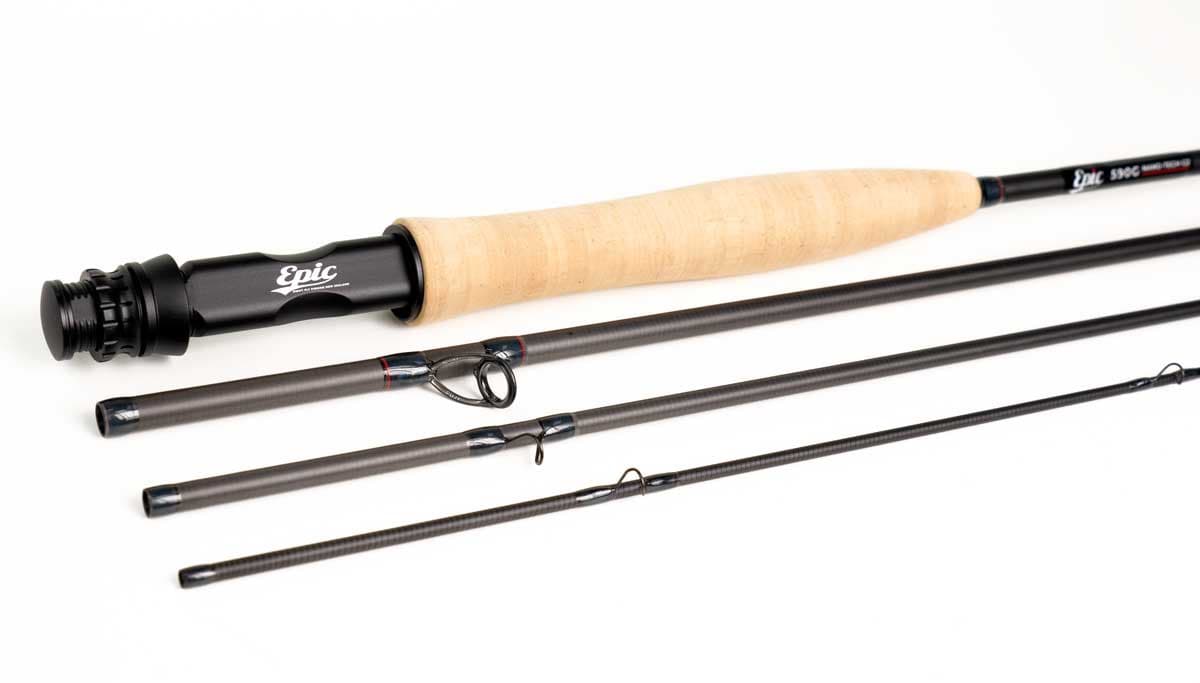
Build Your Own Fly Rod With Our Ready to Wrap Fly Rod Building Kits
This set of tips are taken from the comprehensive build book included in all our Epic "Ready to Wrap Rod Kits"
Tips On how to Build A Fly Rod
- Warming part A and B resins prior to mixing aids in measuring, mixing, and applying the epoxy finish. This heating, or warming the resin also helps release air bubbles trapped during mixing and allows the finish to soak into the wraps more thoroughly.
- Heat the A and B bottles by putting them in your pocket, warming with a lamp, hair dryer, immersing in warm water (caps on!) or other heat source until the bottles are no longer cool to the touch, but not hot - be careful not to melt the containers!. On really warm days this won’t be necessary. Warm epoxy applied to a warm blank will make life much easier and give a better overall result.
- Accurate measurements of resin and hardener is very important. We recommend at least 10 cc of each part be used to assure accurate measurement.
- "Fuzzes" can be singed back with a quick flash of a cigarette lighter - Be careful - not too much!
- To mix properly, measure the resin and hardener out into one of the mixing cups provided in your glue kit. Mix the two equal parts thoroughly BUT SLOWLY & gently to avoid introducing excess air bubbles into the resin. The trick here is to not lift your stirrer off the bottom of the mixing cup. Mix until the epoxy is completely clear (no cloudiness or streaking).
- After the glue is thoroughly mixed (about 3 mins), pour it out onto a piece of Aluminum foil or an small tin dish. This will help settle out any air bubbles and will also prolong working time.
- Bubbles surfacing at the base of guides and trapped under the finish can be popped by using low heat from a propane torch or cigarette lighter. BE CAREFUL Flash the wraps gently with the heat, taking care not to introduce the flame directly into the wrap or overheat the finish.
- Bubbles can also be forced out by gently blowing on them through a straw (our preferred method)
- Don't contaminate the epoxy with silicone. Any source of silicone such as silicone in medical syringes purchased at a drug store or silicone on monofilament can cause the finish to fisheye or separate from the rod blank and wraps.
- Unequal measurement or poor mixing of the two part epoxy can result in an uncured, “sticky” finish. To correct, re-coat the wraps, taking care to measure and mix thoroughly. A well mixed coat over a slightly sticky finish should cure the problem.
- Occasionally a frayed end or fuzzy piece of thread may stick out from finish. To fix this, allow the finish to dry and then slice off this projection with a utility knife or razor blade. Re-coat the wrap with Epoxy.
- If you like an extra thin build on your fly rod wraps, there are (at least) three ways to get a thin finish. Use a stiff brush which will spread the epoxy evenly and thinly over the wrap. Heating will also thin the finish. Thinning with a solvent such as acetone or Denatured alcohol (surgical methylated spirits)
- If you make a mistake, or are unhappy with a wrap you can remove cured guides by shaving or cutting thought the epoxy and thread with a razor blade. Be careful not to cut into the blank.
- If stored in very cold areas epoxy resin part A will crystallize. To restore the resin to its original state, heat the bottle in hot (not boiling) water. This crystallizing does not damage the resin.
- Your Epoxy Syringes should not be cleaned. Unmixed resin will not harden. Keep the syringes in small separate containers for further use. Clean brushes and other tools while the epoxy is still liquid using acetone, lacquer thinner, epoxy thinner, etc. Do this outdoors or in a well ventilated area.
- Take your time with your wraps. If you’re unhappy with the result, trim them off and start again.
- Your favourite tunes and a good Scotch have been known to improve the overall rod building experience - Optional

All these tips and much more advice on rod building is covered in our comprehensive step by step Epic fly rod build book - you can download it here