

Double your line length in a single cast without false casting, with Joe Mahler.
Any fly fisher knows that stripping in and lengthening – or “shooting” line – is part of the fly-fishing process. Understanding how and when to lengthen line will sharpen your shooting and make a significant difference in ease and performance.
Perhaps the biggest misconception is the term “shooting” itself. The word “shooting” suggests that it is active, even aggressive, when in reality, shooting line is passive. It is something that you allow to happen, not force. When allowed to do its thing, the line will tell you precisely what to do. Many use false casting to lengthen the line, but eliminating that extra movement will give surprising results. There are three times during the cast when you can lengthen your line, the third may surprise you.
A Bit About Power
Fly casting, compared to conventional tackle, is full of opposites. For example, with a spinning outfit, you cast a weight of some sort. That is, the weight of a lure propels the line off the reel. The lure is first to arrive. The heavier the weight, the farther it goes. With fly casting, the opposite is true. The thick fly line pulls the nearly weightless fly through the air. The fly is the last to arrive. As with a heavier lure, the more fly line you have out (to a point) the farther it will go. In other words, it is physically easier to make a long cast than a short one.
Opposite also is the way power is applied. The spinning rod is brought back slowly and then sped up on the forward stroke. In fly casting, for the most part, you should apply the majority of power on the back cast. Think of it as “power in the back, presentation in the front.” Trying to overpower the forward stroke is one of the most common casting errors.
1: Shooting on the Forward Stroke
This is where all fly casters start. Because most fly fishers started fishing with conventional tackle, it seems like the natural time to shoot line. As you make the pick-up and back cast, you store energy. When you move the rod forward, that stored energy is directed and released toward the target.
The forward-moving line stops for only three reasons:
- The line runs out of energy
- It reaches the end of what is available
- The line makes contact with the surface.
The first two are acceptable, but the most common reason that the line doesn’t shoot to the desired length is that the line contacts the surface and piles up. It may even splash.

The line cannot go any farther than that point of contact. Stopping the rod in a higher position will usually correct the problem. Good timing on the release is essential. When you move the rod forward, you bend or load it. When the rod stops briskly, or “unbends,” the line is propelled forward. If the release is premature, the rod unloads too soon and all tension is lost. This is usually evident by slack line wrapped around the bottom section of the rod.
If you hold the line tight until the rod stops in the forward position, the line will tug and unroll smoothly. Form a circle with your thumb and forefinger and the line will glide gently out. Stop the line by closing your hand.

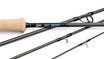
(left)An early release will cause the rod/line to lose tension, resulting in slack.
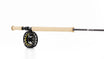
(right) Caster gently allows the line to glide through his fingers.
2: Shooting on the Back Cast
There is a limit to how much line you can shoot on the forward stroke and the tendency will be to cast harder. A better and more efficient approach is learning to shoot line on the back cast. As stated earlier, you should apply the majority of power on the back cast, so use that power to shoot some line.
Instead of trying to shoot twenty feet on the forward stroke, shoot ten feet in the back and ten feet in the front. Release or “shoot” the line after the rod comes to a stop in the backward position and line unrolls behind. When the line gets tight, loosen your grip and allow the line to slide through your fingers until the line slows. Squeeze the line and begin the forward stroke. By doing this, you can shoot half of the desired line in the back and half in front. Make a few casts with your eyes closed and the tug should become obvious.

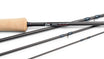
(left) After the back cast stop, the caster opens his hand to let line slide out.
(right) Caster clamps down on the line and begins the forward stroke.
As with the forward stop, stopping the rod in a higher position on the back cast will help. The added weight from the line will increase the rod-load going forward, resulting in a smoother, more efficient cast.
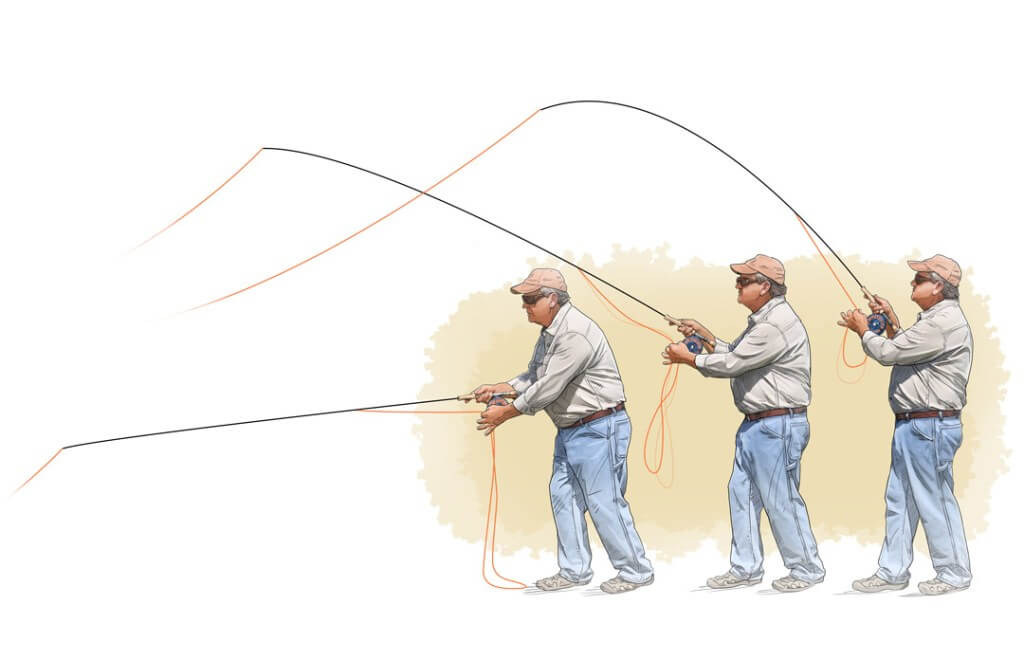
3: The “Slip-Lift” Pick-up
A common stumbling block that casting instructors encounter is keeping the student from letting the line “slip” through their fingers when making the pick-up. Well, just as some poisons, in small measure, can make great medicine, so is slipping line on the pick-up. The earlier in the cast that you lengthen the line, the more the line will work for you. This is a technique that I call “The Slip-lift.”
Start with your rod tip in the water. Lift the rod, letting the line gently slip through your fingers until your casting hand is even with your shoulder. Clamp down on the line with your fingers and give a short haul. You have now added 8 or 9 feet of line that adds momentum and smoothly increases the rod-load on the pick-up. This added line weight will in turn make shooting line on the back cast even easier.

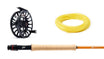
(left) With eight feet of line below, the caster starts with the rod tip in a low position
(middle) As he lifts the line slips through his fingers.
(right) As the rod reaches the “pick-up point,” the available line is mostly outside of the rod tip.
Take the Challenge
It is time to put your skills to the test! Stretch out a tape measure and grab a few markers.
- Lay out 40 feet of line. With no false casts, pick up and shoot as much line only on the forward stroke as you can. 15-20 feet would be a good amount. Make several attempts and place a marker at y best one.
- Lay the line out at 40 feet of line. Pick up and shoot line on the back cast and forward cast. You will see an increase of another 15-20 feet. Mark it.
- Lay the line out at 40 feet, and allow line to gently slip out as you lift. “Pluck” the fly from the surface with a short but sharp haul. Make your back cast allowing the line to shoot, followed by the forward cast shoot. It is not uncommon to find that the length of the cast has doubled to 80 feet or more.
By putting all three shooting opportunities together in a single cast, you can virtually eliminate false casting and make your cast smooth and efficient.
Author

Joe Mahler is one of the USA's leading fly casting instructors and author and illustrator of “Essential Knots & Rigs for Trout” and “Essential Knots & Rigs for Salt Water”. You can Book a fly casting lesson with Joe via his website here


