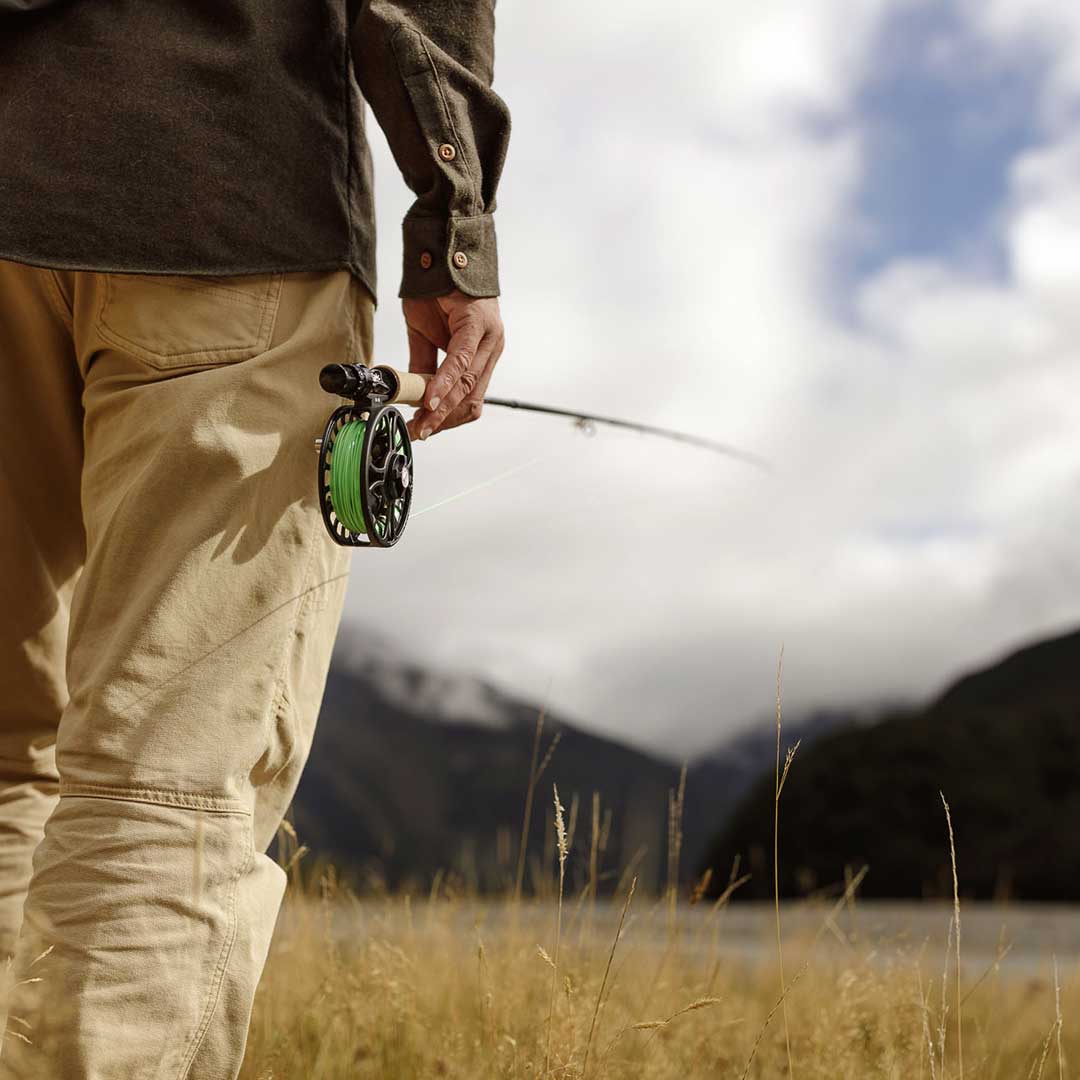

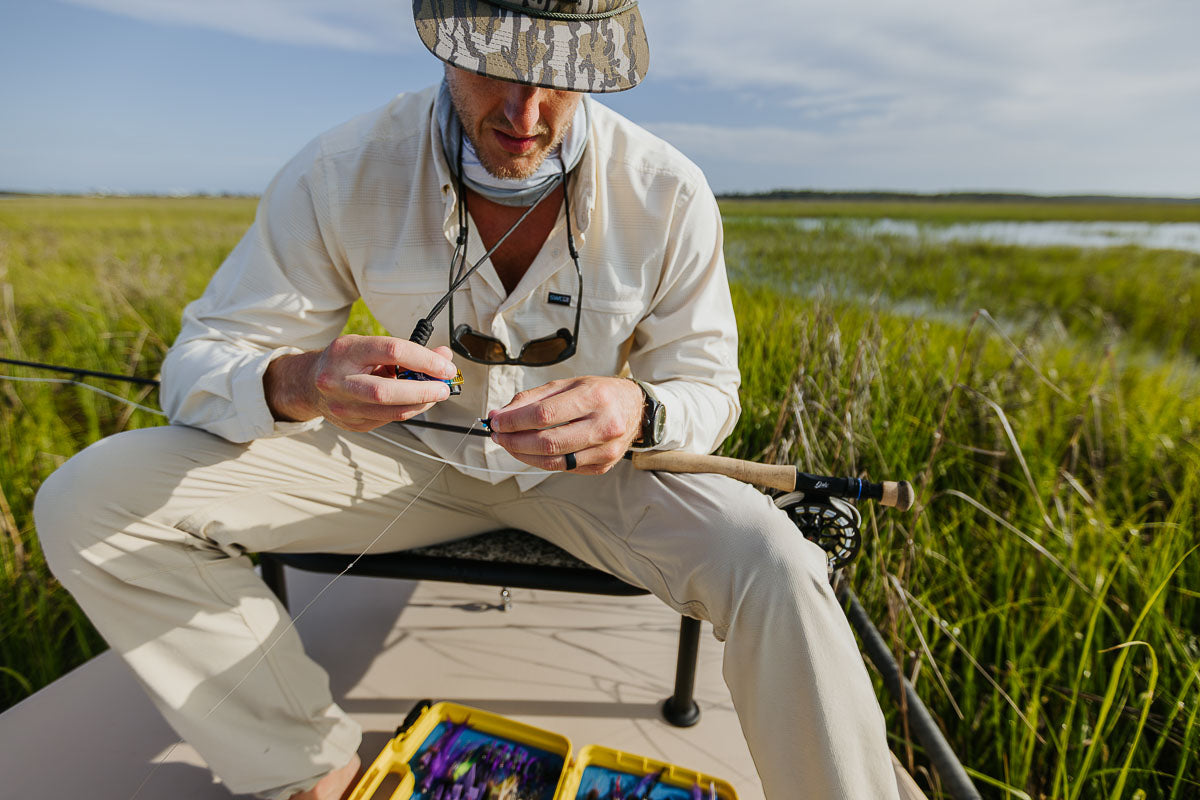
Maybe you can tie these behind your back, or maybe you’re just getting started with fly fishing. Either way, these classic knots are the ones that land fish. Simple, reliable, and proven over decades, they’re the knots you’ll keep coming back to no matter how much the gear or techniques change.
The Nail Knot
The Nail Knot is the time-honored way to attach your fly line to the leader. While you do need to retie it when changing leaders, it’s perfect for gentle presentations and especially useful when fishing in areas with floating debris like grass or leaves — the slim knot slides through guides without snagging.
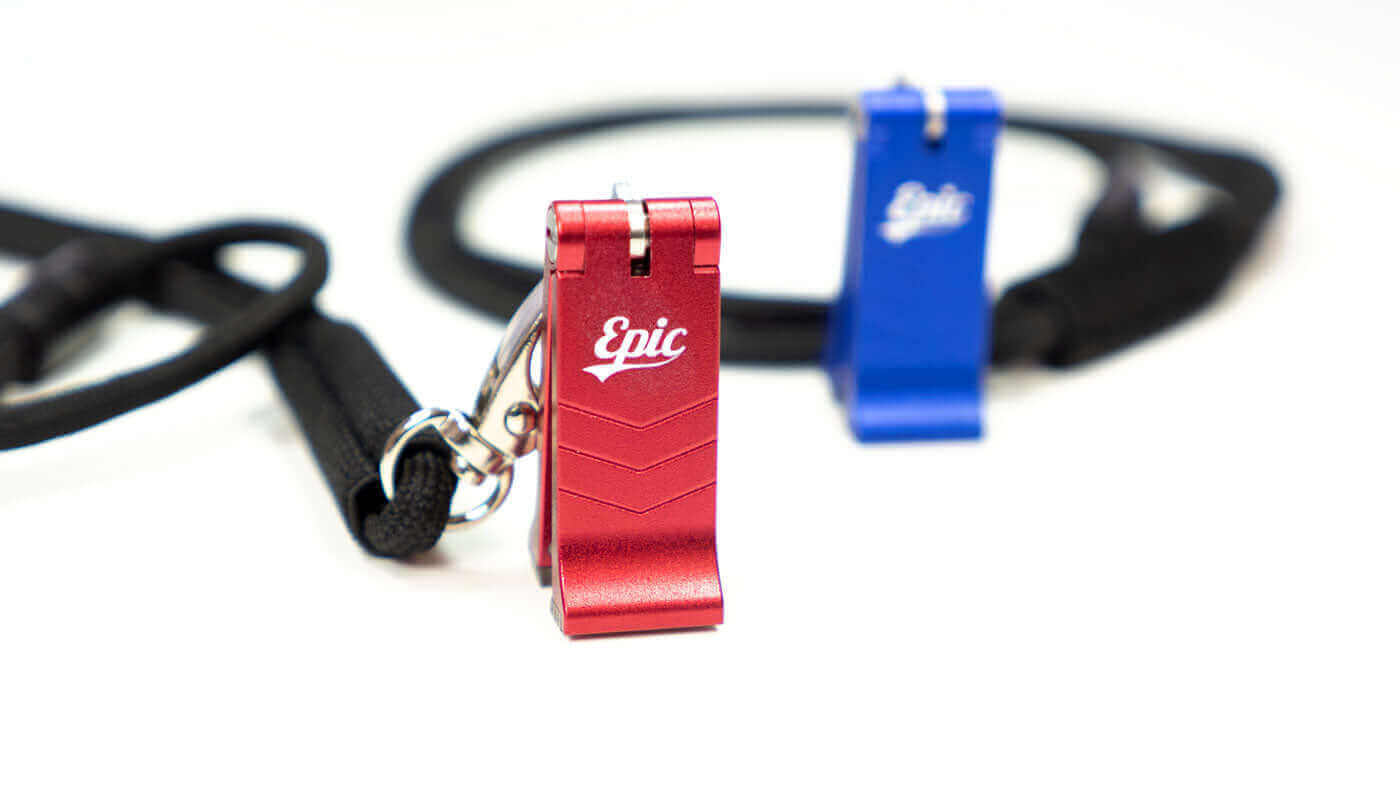
For a quicker, easier tie, the Tie-Fast Nail Knot Tool makes the process simple and clips right to your vest or lanyard so it’s always within reach.
Supplies: small metal or plastic tube (or nail-knot tool), flexible cement such as Pliobond
1. Place the fly line just beyond the tube. Position the butt end of the leader on top of the fly line and wrap it around the fly line and tube one time.

2. Continue wrapping toward the end of the fly line (back over the leader itself) until you have a total of six wraps. Placing the coils close together makes it easier to close the knot. Use your fingers to pinch the coils in place.

3. While holding the wraps tightly, insert the tag end of the leader into the tube and push it through.

4. Gently remove the tube while continuing to pinch the coils. Dress and lubricate the coils. Tighten firmly by pulling on both ends of the leader.

5. Trim the tag end of the leader and excess fly line. Add a flexible cement such as Pliobond to the knot to smooth out the connection.

Leftys Loop
A no-slip loop connection to streamers and nymphs allows a free-swinging action that eliminates the stiff, mechanical connection that I call a “Puppet Show”. When the no-slip loop is finished the tag points toward the hook and is less likely to pick up grass or other flotsam.
In my opinion, the smaller the loop, the better. The size of the gap between the loop and the hook determines the size of the finished loop. The number of wraps changes with the diameter. Here is what Lefty recommends in Fishing Knots: “For lines testing 8X to 6-pound-test, make seven turns; for 8 to 12-pound-test, make five turns; for 15 to 40-pound-test, four turns.” For lines heavier that that (or wire), you only have to use three turns.
1. Tie a simple overhand knot in the line before passing the tag end through the eye of the hook.
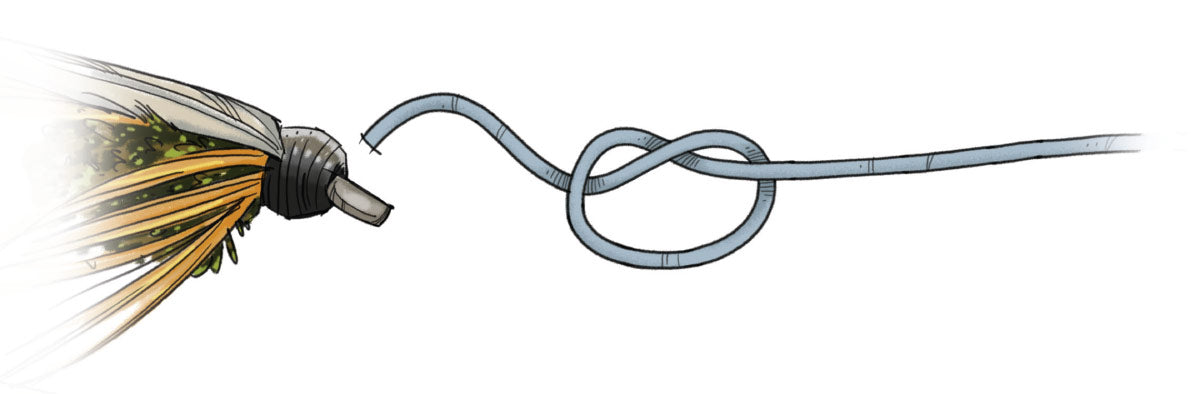
2. Pass the tag through the overhand knot the same way it came out. Pull gently on the tag until the overhand knot is near (1/4 inch or less) the eye of the hook.
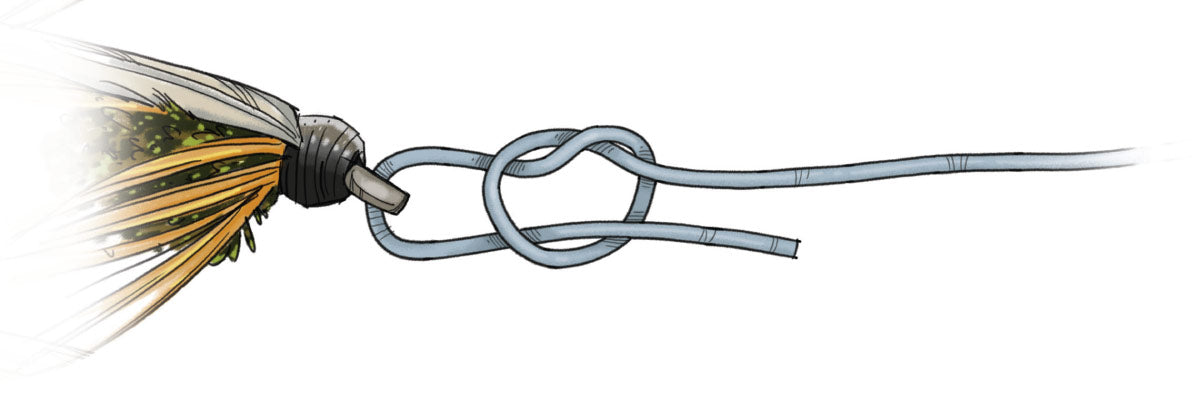
3. Make five turns (more for the lightest lines; less for heavier) around the standing line, working toward the hook. Pass the tag through the original overhand knot. Lubricate.
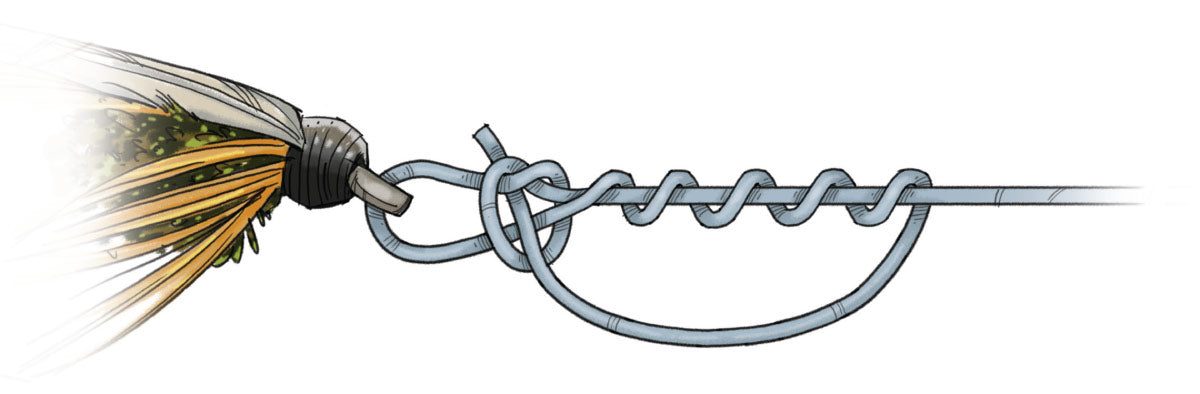
4. Tighten by pulling on the standing line, the tag, and the fly simultaneously. Trim the tag.

Surgeons Knot
A perfect balance of strength and simplicity, this is my go-to knot when I need to change tippet or build a leader quickly and easily (such as in low-light conditions). I also prefer this knot when attaching a fluorocarbon tippet. The surgeon’s knot, by definition, is only tow turns, while a double surgeon’s is four turns. For 6-pound-test monofilament or less, I recommend the double surgeon’s. This knot is better than the standard blood knot at joining lines of widely differing diameters.
1. Place the two lines together with working ends opposite each other.
2. Tie a simple overhand knot keeping the two lines together.

3. Pass the two lines through again for a surgeon’s (shown). Simply pass the two lines through one more time for increased security in lighter tippets. Lubricate.

4. Tighten by pulling on all four strands (two tags and two standing lines). The finished knot should resemble a figure eight.

Fisherman’s Knot
This knot is also called the Pitzen and 16-20, among other names. Whatever you choose to call it, this “reversed clinch” is easily tied and stronger and smaller than the improved clinch. However, it does require you to use more tippet, and some find it harder to tie than the improved clinch – though I provide some tips for making it easier. With one simple variation – passing the tag end through the loop formed at the gook eye like you would for and improved clinch knot, you get another version of the knot, often called the Heiliger or San Diego jam.
1. Insert the tippet through the eye of the hook and form a crossed loop around the standing line.

2. Make three of five wraps around both lines, wrapping back toward the hook.

3. After making the wraps, take the tag and pass through the back of the loop opposite the hook.

4. Lubricate and dress so that the wraps lie neatly together. Tighten by pulling firmly on the standing line. When the knot is tied properly, you will see it pop into place. Trim the tag.

Tip: One way to make this knot easier to tie is by threading 4 to 6 inches of tippet through the eye of the fly, pinching the loop with your right hand, and then making the wraps back toward the fly with your left hand. If you want to impress your friends, you can clamp forceps on to the hook bend and swing the fly around as you wrap – similar to how bass pros tie this knot with spinner baits.
Slip Knot and Yarn Indicator
This indicator excels when you want to rig a yarn indicator quickly or don’t want to fuss with rubber bands. If you need to change the depth of your indicator frequently, such as when fishing pocket water, then it is better to go with a system that doesn’t kink your leader as much as this one.
Supplies: yarn, scissors, small brush, floatant.
1. Form a crossing loop in the leader, form a second crossing loop behind the first, pull the back loop through the front loop to form the slip knot and pull the back loop through the front loop to form the slip knot.
 2. Insert the yarn into the slip-knot loop, pull the leader on each side of the slip knot to seat the knot, trim the yarn to length and apply floatant.


|
Words and images by Joe MahlerJoe Mahler is one of the USA's leading fly casting instructors and author and illustrator of “Essential Knots & Rigs for Trout” and “Essential Knots & Rigs for Salt Water”. You can Book a fly casting lesson with Joe via his website here. |


